How to use Windows Disk Clean-Up Utility
Windows operating system has many inbuilt system maintenance tools which can help you improve the performance of your PC by consistently using or scheduling important tasks. One of the most important maintenance activities required to boost system performance is to maintain a healthy file system. “Disk Clean up” and “Disk Defragmenter” are two important inbuilt tools in Windows operating system which can be used to maintain an efficient file system.
Disk Clean-up
Disk clean-up utility focuses on finding and deleting files that are no longer needed by users and hence freeing up space on a hard drive. It deletes temporary and system files from your device imbibing your system with a smart storage sense.
How to Run Disk Clean-up Utility on Windows 10
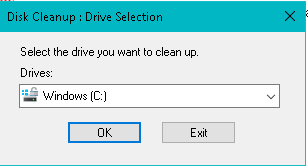
Step 1:
You can enter “Disk Clean-up” in the search bar and then select the utility. The utility will prompt you to use a drive you want to clean as shown in the following exhibit. Alternatively, you can Open Windows Command Prompt, type cleanmgr, and press Enter. This will also result in the execution of the Disk Cleanup utility.
Step 2:
Once a drive has been selected utility will scan the volume for files that are no longer needed and can be deleted. Further, it will prompt you to take the desired action to create more space on the volume. You can select the type of files you want to delete and click “Ok”.
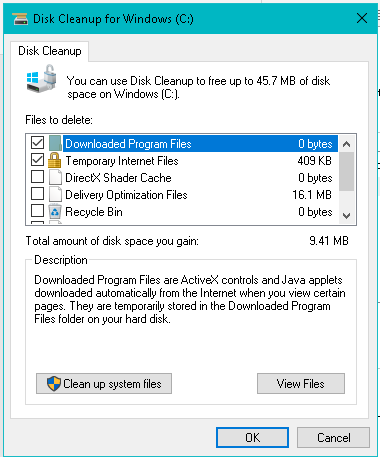
Step 3:
To free up more space you can select the “clean up system files” option. On selection of types of system files, you want to delete select “Ok” and push the “Delete files” button to enable Windows to delete all unwanted system files
Pro-Tip💡:
Scheduling Disk Clean up on “Task Scheduler” will help you not to forget the maintenance task periodically